

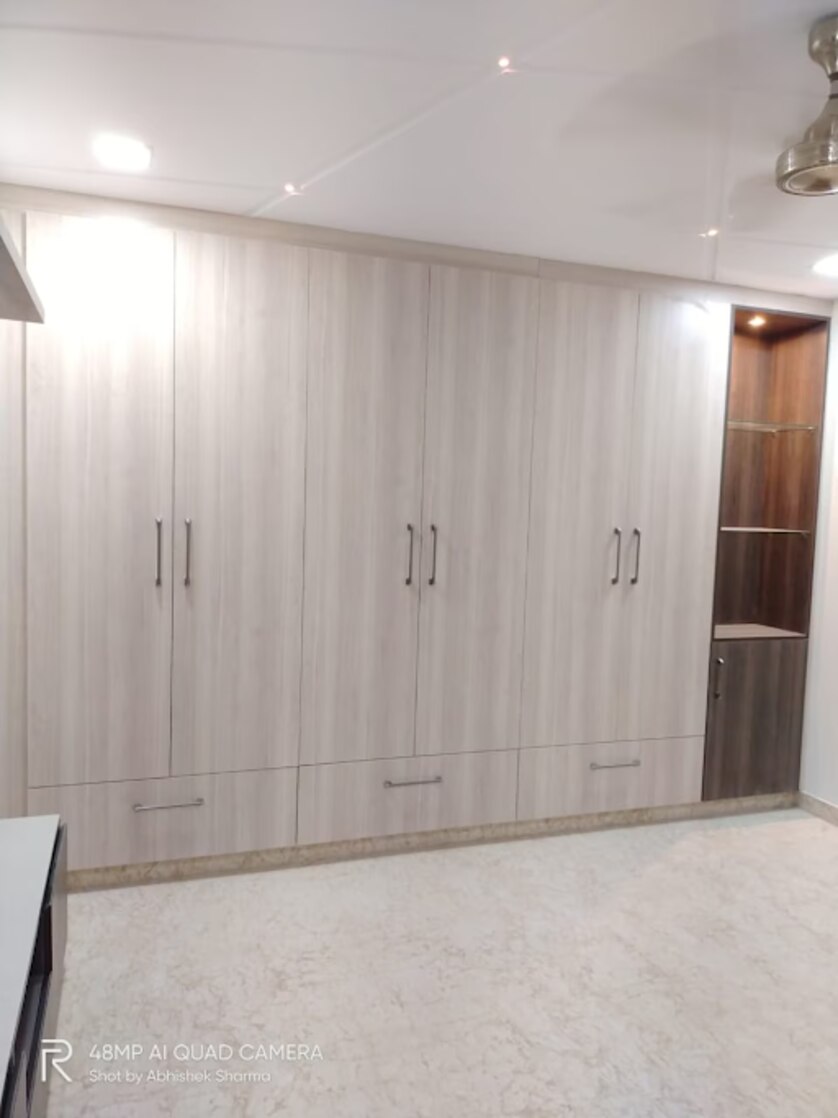
A wardrobe that looks right on a drawing can fail once it meets a sloping ceiling, a bed, a socket or the clothes you actually own. By measuring the room, testing door movements, mapping your inventory and specifying the internal construction, you can develop a wardrobe that fits the bedroom and remains practical to use.
Key takeaways
- Measure after flooring, skirting and ceiling work is complete.
- Check door clearances against bed, windows, switches and walking routes.
- Size shelves, drawers and hanging zones from your actual clothing inventory.
- Give the fabricator dimensions, materials, hardware and lighting positions in writing.
Survey the bedroom before choosing a wardrobe shape
Measure the bedroom after flooring, skirting and ceiling work is complete; otherwise your wardrobe measurement will change during installation. Record the bedroom wall width at floor, mid-wall and ceiling level, the finished ceiling height, skirting depth, floor-level changes and every socket, switch, window, door and beam.
- Measure window and door clearances, the passage between the wardrobe and bed, and the opening space required for a hinged door leaf and handle.
- Check each corner with a square or diagonal measurements. Draw a simple elevation with dimensions at several heights; differences reveal whether the wall is rectangular and whether doors will bind.
- For a cabinet against an external wall, specify a planned ventilation gap or ventilated back detail to limit trapped condensation. Coordinate it with sockets, skirting and fixing points instead of leaving an uneven reveal.
| Condition | What to record | Design response |
|---|---|---|
| Out-of-square corner | Corner angles and width at several heights | Scribed filler and adjustable fixing |
| Column or beam | Projection, height and position | Stepped cabinet or filler panel |
| Sloping ceiling | Height at both ends and centre | Controlled top infill |
| Low loft zone | Usable height and access route | Reduced cabinet height or reserved loft storage |
| Uneven floor | Level change across the cabinet run | Adjustable legs and a level plinth |
A nominal cabinet width ignores these variations. The result is a tapered gap, unstable fixing or doors that scrape; measured elevations let the wardrobe follow the room accurately.
Match the door layout to depth and circulation space
Hinged wardrobe doors give the widest view of each bay, but they work only when the door leaf, handle and bedside furniture have enough clearance.
| Option | Access | Space trade-off |
|---|---|---|
| Hinged wardrobe doors | Open a full bay at once | Need swing space and a clear handle zone |
| Sliding wardrobe doors | Save front passage space | One leaf stays across part of the cabinet |
| Bi-fold wardrobe doors | Open more cabinet width than sliders | Folded leaves and hinges need careful clearance |
| Open wardrobe layout | Give immediate access with no door hardware | Expose dust and visual clutter |
Choose sliding wardrobe doors when the route between the bed and cabinet is tight. Do not treat them as full-access doors: you cannot view every bay simultaneously. Bi-fold wardrobe doors suit a narrower front zone when you want broader access, but check where the folded leaves project.
Full-depth hanging normally needs 550–600 mm of internal depth before adding door and hardware allowances. If the available depth is materially less, use pull-out or perpendicular clothes rails; they cost more and usually store fewer garments per bay.
Put these dimensions on the plan before fabrication:
- Sliding-door track depth
- Hinge cups, runners and handle projection
- The door swing or folded-leaf path
- A clear route from the bed to the wardrobe
A technically fitting wardrobe still fails if its open doors block the bed, bedside table or daily circulation.
Build the interior around your actual clothing inventory
Divide wardrobe storage zones by what you own, not by equal cabinet widths. Count each garment type before drawing the cabinet, then assign space only where it improves access or protects the item.
1. Group long dresses and coats, shirts, folded trousers, skirts, knitwear, shoes, luggage, jewellery, laundry and seasonal items separately. Start with 1,000 mm of clearance for shirts, folded trousers and skirts, and 1,500–1,700 mm for dresses and coats. Check both figures against your longest garments.
2. Use a double-hang wardrobe only when you have enough short-hang clothing to fill both levels. Put drawers below hanging areas when low shelves would force you to reach or kneel; confirm drawer clearance before fixing the plinth or adjacent doors.
3. Keep folded clothing in moderate-depth drawers or shelves. Excessive depth hides rear stacks, so full-extension runners become more valuable as drawer depth increases. A shoe storage wardrobe needs dedicated shelves, while luggage and seasonal items belong in higher compartments.
4. Separate shared users into distinct zones. Keep daily storage within children’s reach, use adjustable shelves in guest rooms, and place quick-access drawers in dressing areas. For seated or wheelchair users, keep frequent-use storage 380–1,220 mm above the finished floor and preserve a 760 × 1,220 mm forward-approach space.
Check every long shelf and rail against the hardware supplier’s span and load tables. Add a centre partition or shelf support before fabrication when the span or stored weight demands it; thicker board alone will not prevent a rail from deflecting or fasteners from pulling loose.
Use lofts, finishes and lighting without making the room heavy
Keep daily-use clothing between easy reach and eye level; use wardrobe loft storage for suitcases, blankets and seasonal items. Specify a stable step, pull-down fitting or another safe retrieval method instead of placing frequently used belongings overhead.
1. Break a tall run when a full-height loft makes the bedroom feel compressed. A shadow gap, recessed centre section or lighter upper doors can reduce its visual weight without sacrificing capacity.
2. Coordinate the wardrobe with the bedroom interior style through consistent lines rather than an exact wood-pattern match. Align door proportions, grain direction, edge colour, handle geometry, plinth height and shadow gaps with fixed finishes. Grain-matched or book-matched doors need planned panel sequencing and extra material; plain or repeated finishes are easier to repair later.
3. Choose the board for the door and carcass job. Melamine-faced particleboard suits repeatable carcasses, MDF machines and paints evenly for profiled or lacquered MDF wardrobe doors, and plywood offers stronger screw-holding and better moisture tolerance at higher material cost.
None is moisture-proof at exposed cut edges, so protect lower shelves, plinths and other vulnerable edges with properly bonded ABS or PVC banding.
4. Design wardrobe lighting into each bay, not as an afterthought. Recessed LED strips near the front improve visibility; door- or motion-triggered switching prevents wasted power, while the driver remains accessible for replacement. Against a cold external wall, use a ventilated back detail coordinated with skirting, sockets and fixing points.
A supplier such as Madhav Tradelink should show these details on the drawings before fabrication.
Related products
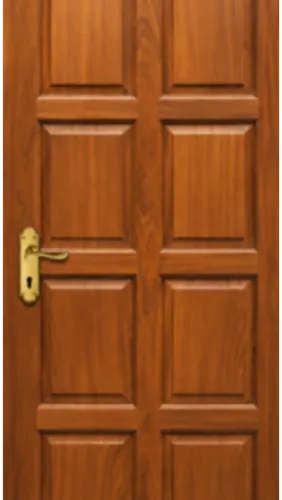
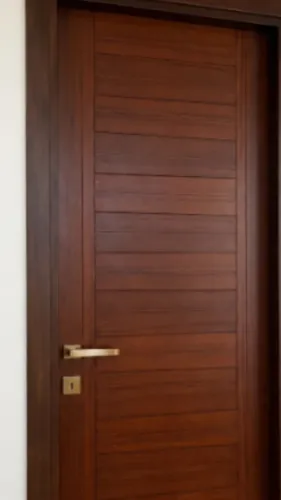
 | wardrobes Wardrobes Madhav Tradelink, located at Asia's largest furniture Market, holds the prestige of manufacturing of wooden doors, panel doors, teak wood doors,... |
 | wardrobes Wardobes Madhav Tradelink, located at Asia's largest furniture Market, holds the prestige of manufacturing of wooden doors, panel doors, teak wood doors,... |
Turn the design into a fabrication-ready specification
A wardrobe is ready for manufacture only when its cutting list reflects wardrobe internal dimensions, not the outside cabinet size. Confirm every obstruction that reduces usable space, then document how the installer will handle an imperfect room.
1. Record each finished bay width, height and depth after accounting for door thickness, hinge cups, drawer runners, vertical partitions, plinths, fixed shelves and sliding-door tracks. Check each measurement against the wardrobe hardware clearance required by the selected hinges, runners and tracks.
2. Request the hardware supplier’s span and load tables for every shelf and hanging rail. Add a centre partition or support where an unsupported span could sag, deflect, or pull fasteners from the side panels; thicker board alone is not a reliable repair.
3. Specify thicker ABS or PVC edge banding on floor-facing edges, plinths and exposed shelves. These locations take impacts and moisture first, while thin paper edges swell, peel or chip.
4. List panel material, decorative finish and formaldehyde documentation as separate specifications. For MDF, particleboard and hardwood plywood in the United States, require documentation for TSCA Title VI composite wood rather than accepting “low VOC” as proof of compliance.
5. Detail adjustable legs, scribed fillers and a controlled top infill for out-of-square floors or walls. Approve shop drawings showing dimensions, hardware clearances, edge treatment, fixing points and installation tolerances before cutting begins.
Frequently asked questions
When should you measure a bedroom for a custom wardrobe?
Measure after flooring, skirting and ceiling work is complete. Record wall width at floor, mid-wall and ceiling level, finished ceiling height, skirting depth, floor-level changes and all sockets, switches, windows, doors and beams.
How do you choose between hinged and sliding wardrobe doors?
Match the door layout to the room’s circulation space and wardrobe depth. Hinged doors need clear swing space, while sliding doors preserve the walkway but require suitable track depth and access to one section at a time.
How should wardrobe storage be planned?
Build the interior around your actual clothing inventory. Count long garments, folded clothes, shoes, bags, accessories and luggage before assigning hanging rails, shelves, drawers and loft storage.
What should a fabrication-ready wardrobe specification include?
State finished dimensions, wall and floor conditions, door layout, internal storage zones, materials, finishes, hardware, lighting positions, socket access and loft requirements so the fabricator can price and build the design accurately.
Related product
 | kitchen, modular kitchen, kitchen manufacturer, Madhav Tradelink, located at Asia's largest furniture Market, holds the prestige of manufacturing of wooden doors, panel doors, teak wood doors,... View product → |