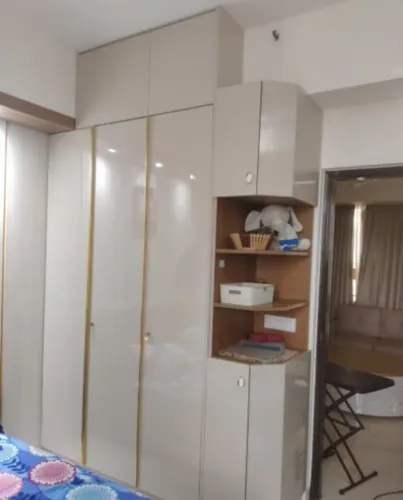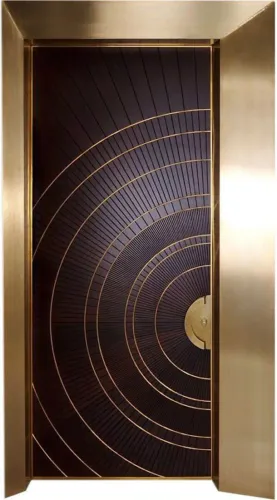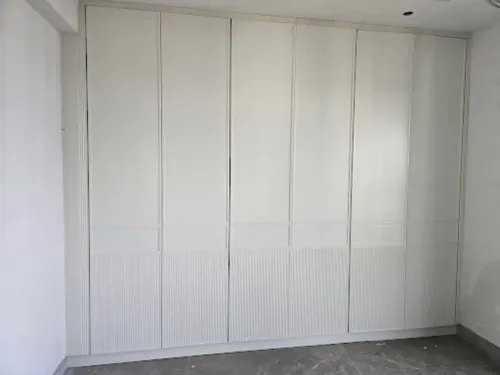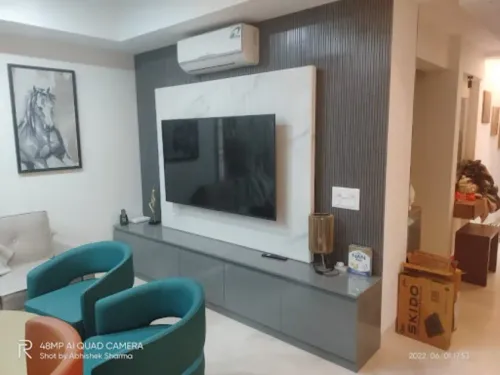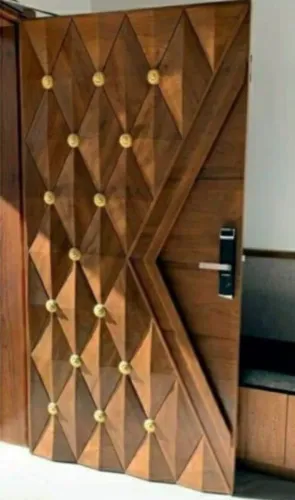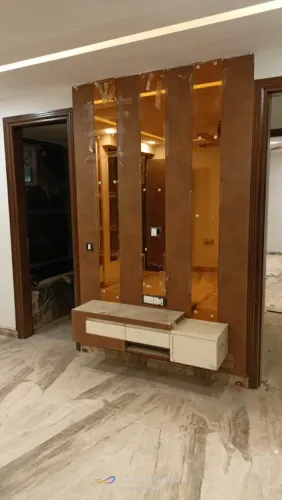
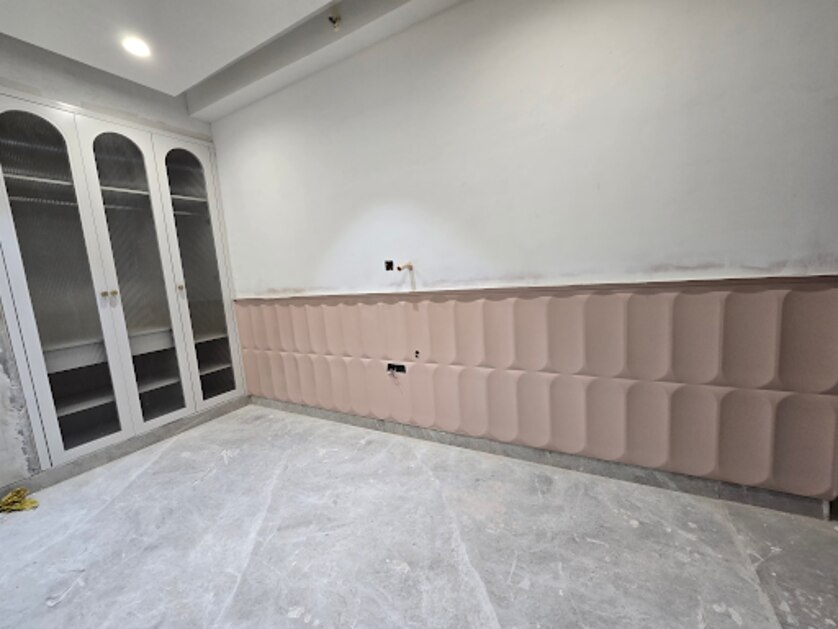
The right wooden wall treatment can soften a hard modern room, guide attention and make built-in elements feel intentional, but the wrong profile or installation can make the space look heavy and expose every uneven wall. By the end, you will be able to choose a panel style, compare material options, specify the construction and plan the installation around moisture, services, maintenance and future repairs.
Key takeaways
- Frame a focal wall instead of covering every available surface.
- Use vertical, horizontal and slatted layouts to alter perceived room proportions.
- Compare veneer, solid wood and wood-look panels for stability and maintenance.
- Approve the core, joints, fixings and ventilation before judging the finish.
Choose the room, wall and panel format together
Choose the wall before choosing the panel: wooden wall panelling works best where it frames a focal point, not where it merely covers every available surface.
| Room | Best wall area | Suitable format | Why |
|---|---|---|---|
| Living room | Media wall, fireplace wall or sofa backdrop | Full-height slatted or fluted living room wall panels; framed panels for traditional schemes | Creates a focal zone and conceals cables or uneven visual backgrounds |
| Bedroom | Wall behind the bedhead | Full-height veneer, fluted panels or padded acoustic slats | Gives the bed a clear anchor without making every wall feel enclosed |
| Dining area | Wall behind the table, banquette or sideboard | Half-height wainscoting or vertical dining room panelling | Adds protection and warmth while keeping the room visually open |
| Hallway | Long circulation wall, stair wall or entrance niche | Narrow vertical slats or slim framed panels | Adds rhythm to a passage without consuming floor space |
| Reception space | Wall behind the desk, waiting-area backdrop or lift lobby | Large-format veneer panels or repeated slatted modules | Signals arrival and coordinates with doors, cabinetry and furniture |
Use an accent wall when the room already contains strong furniture, artwork or windows. Full-height panels suit tall, calm compositions; half-height wainscoting suits rooms needing a lighter upper wall. Fluted and slatted formats introduce texture, while framed panels make a broad wall read as architectural joinery.
Do not select panelling to solve insulation or acoustic problems by appearance alone. A thin wood layer adds little thermal resistance, and meaningful sound absorption requires a tested system with an air cavity and porous backing.
Use layout and scale to change the room’s proportions
Layout and scale can make the same room feel taller, wider, quieter or heavier without changing its footprint. Use vertical grain and continuous joints to draw the eye upward; horizontal lines and broader modules make a narrow room feel wider.
- Run full-height panelling from floor to ceiling when the room feels low. Keep joints aligned and trim slim so the eye reads one uninterrupted vertical field.
- Choose half-height wainscoting when you want a lower, more grounded treatment. A substantial chair rail adds a stopping line; a thin rail keeps the wall visually lighter.
- Use an accent wall with large panels when a room needs focus rather than enclosure. Fewer, wider joints reduce visual noise, while small panels make the wall feel busier and heavier.
- Specify slatted panels for rhythm and partial concealment. Closely spaced slats add strong vertical emphasis and shadow; wider gaps expose more of the wall and reduce the apparent mass.
Panel scale must match the room: oversized panels can overwhelm a compact bedroom, while very narrow modules can make a large reception wall look fussy. Repeat the same reveal width at doors, cabinetry and skirting to make the treatment read as integrated millwork.
Trim changes the apparent weight too. Deep projecting frames and dark reveals make a wall feel substantial; flush edges, pale finishes and minimal profiles make it recede. Stop panelling at a doorway or corner, and the boundary becomes a visual break that can shorten the room.
Compare veneer with solid wood and wood-look alternatives
Natural wood veneer is the better choice when you want real grain across a large, coordinated wall without the movement risk, weight, or material use of wide solid boards. It is real timber sliced into thin leaves and applied to a stable panel core, so matching several panels is easier.
| Option | Strength | Choose it over veneer when |
|---|---|---|
| Solid wood wall panels | Authentic thickness, edges and tactile character | You want deep profiles, exposed end grain, or can detail movement joints for seasonal swelling and shrinkage |
| Laminate-faced MDF | Consistent colour, abrasion resistance and simpler maintenance | You prioritise a uniform finish over natural grain variation and can accept a printed surface |
| PVC panels | Moisture resistance and easy cleaning | The wall faces frequent water, steam or heavy impact; veneer needs careful moisture protection |
| Painted MDF | Any colour, clean profiles and economical replacement | The design depends on a precise paint colour rather than timber character |
| Wallpaper | Fast installation, low thickness and easy pattern changes | You need a temporary finish or cannot add panel depth and fixing work |
| Wood-look porcelain | Hardness, water resistance and strong cleaning performance | The wall is exposed to splash zones, heat or commercial-grade wear, and a tile-like surface is acceptable |
Veneer suits reception walls, bedrooms and living areas where authentic grain matters but dimensional stability and broad-panel matching matter more than solid timber edges. Inspect samples under the final lighting: clear finishes slow colour change, but they do not stop sunlight from altering the wood over time.
Specify the panel assembly before approving the appearance
Approve the assembly, not just a veneer sample. A large uninterrupted field can expose batch variation, poor veneer matching and changes in colour between panels, even when each individual sheet looks acceptable.
1. Veneer matching: specify book matching, slip matching, random matching or another method, then show the panel sequence on an elevation. Require grain continuity, an agreed colour range, a signed sample approval and replacement sheets from the same veneer lot.
2. Core: name the substrate, such as moisture-resistant MDF, plywood or particleboard, and check its thickness, density, flatness and movement limits. An unstable core can telegraph joints or split the finish.
3. Backing: require a balancing back or sealed reverse face where the construction needs it. An untreated back can pull the panel out of plane.
4. Edges: state whether edges are veneered, lipped, painted or concealed, and confirm how corners, reveals, cut-outs and access panels will be finished.
5. Adhesive: approve the adhesive type for the core, veneer and site moisture conditions. Ask for its application limits, cure time and VOC information; incompatible adhesive can stain, blister or release the face.
6. Finish: inspect the sheen, number of coats, repair method and colour under project lighting. Retain the approved board because light exposure changes natural wood colour.
7. Documentation: obtain the fire classification and test report for the complete panel assembly, plus formaldehyde-emission certification for the composite core. A low-VOC finish does not prove TSCA Title VI compliance.
Give Madhav Tradelink the elevation, sample approval and document schedule before fabrication, not after cutting begins.
Related product
 | natural wooden veneer, veneer, teak veneer, Wood veneer is a thinly sliced wood that is used to create a finished-wood look on interior trim work. View product → |
Plan the wall, fixing method and long-term performance
Prepare the wall before choosing the fixing method: it must be dry, sound, reasonably flat and free from loose paint, damp or grease. Locate studs, pipes, cables, sockets, doors, skirtings and access panels, then approve a setting-out drawing showing joints, corners and removable sections.
- Check the wall with a straightedge; shallow panels will reveal hollows and ridges.
- Acclimatise timber to the room’s service conditions, not merely its delivery moisture content.
- Leave a movement gap at the perimeter, corners and planned breaks in long runs, then cover it with trim.
| Option | Best use | Main trade-off |
|---|---|---|
| Direct-fix wall panels | Flat masonry or board walls with few services and limited access needs | Saves depth, but transfers wall irregularities and makes repairs disruptive |
| Batten wall system | Uneven walls, concealed cables, insulation, access panels or acoustic wood panels | Creates a cavity and easier servicing, but reduces room size and needs fire-rated detailing where required |
Use concealed fixings that permit timber movement; rigidly bonding wide solid-wood fields can cause cupping, open joints or compression ridges. A batten or framed system also creates space for mineral wool behind perforated or slatted acoustic wood panels.
Specify tested sound-absorption data, such as absorption coefficients or NRC; smooth solid timber alone will not make a room quiet.
In wet areas, seal vulnerable edges, control ventilation and maintain the specified finish. Plan removable panels near valves and wiring, and choose a cleanable coating. Confirm fire performance for the complete installed build-up, including cavity, substrate, coating, fixings and joints—not the face coating alone.
Frequently asked questions
How do you choose the right room, wall and panel format?
Match the panel format to the wall’s role, moisture exposure, dimensions and focal point. Use decorative panelling where it frames a feature rather than covering every surface.
Can wooden wall panelling change a room’s proportions?
Yes. Vertical layouts draw the eye upward, horizontal layouts make a room feel wider, and panel scale affects how large or busy the wall appears.
What is the difference between veneer, solid wood and wood-look wall panels?
Veneer uses a real-wood surface over a stable core, solid wood provides depth but moves with humidity, and wood-look alternatives prioritise consistent appearance and practical maintenance.
What should you specify before approving a panel’s appearance?
Confirm the panel core, surface finish, edge treatment, joint design, substrate, fixing method and any required ventilation before approving samples or elevations.
How do you plan wooden wall panelling for long-term performance?
Check wall flatness, moisture exposure, service access, expansion gaps and fixing suitability. Select materials and installation details that match the room’s humidity and use.