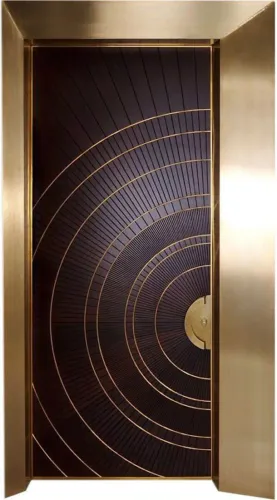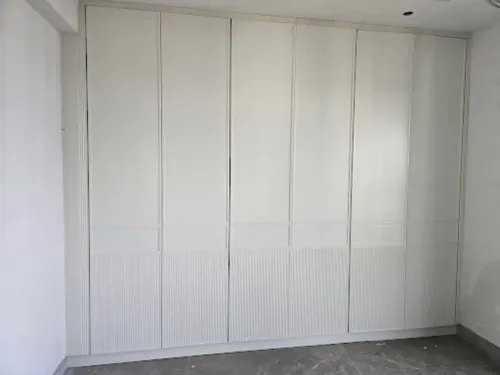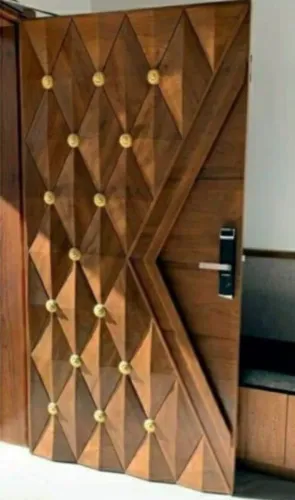
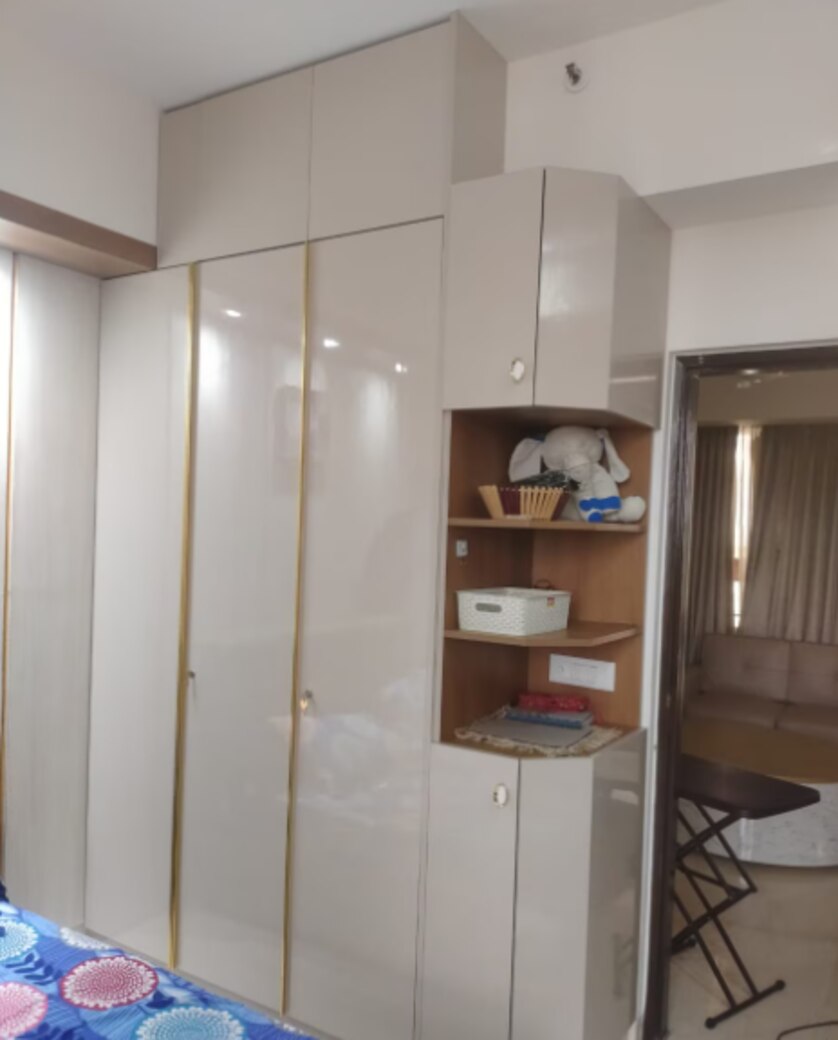
A wardrobe can look streamlined yet waste usable capacity if its depth, door movement, internal zones, or position conflict with the bedroom. You will be able to select the right format, allocate storage by garment type, coordinate finishes and lighting, and brief a supplier with dimensions that work in daily use.
Key takeaways
- Measure door swing and walking clearance before choosing hinged or sliding doors.
- Allocate hanging, folded, drawer, shoe, and luggage zones with usable dimensions.
- Compare full-bay access, carcass construction, hardware, and maintenance before ordering.
- Specify wall fixing, ventilation, edge sealing, and lighting details for lasting performance.
Choose the Wardrobe Format Around the Bedroom, Not the Other Way Around
Start with the bedroom’s circulation path, then choose the modern wardrobe design that fits it. A sliding wardrobe saves front swing space beside a narrow bed or doorway, but overlapping panels hide part of the carcass. A hinged wardrobe gives full bay access, yet needs clear floor space for its doors.
| Format | Best fit | Check before choosing |
|---|---|---|
| Sliding wardrobe | Narrow rooms, beds close to the wardrobe, or circulation beside the doors | Coordinate panel width, overlap, tracks, and bay access; allow 550–600 mm internal depth for hanging clothes |
| Hinged wardrobe | Wider rooms with an unobstructed opening zone | Measure door swing against the bed, doorway, switches, and walking route |
| Built-in wardrobe | Recesses, full wall runs, uneven corners, or awkward columns | Resolve skirting boards, wall moisture, ventilation, and service access before closing the carcass |
| Freestanding wardrobe | Rented rooms, future moves, or layouts needing flexibility | Check its footprint, rear clearance, stability, and visual relationship with windows |
| Floor-to-ceiling wardrobe | High ceilings and a need to use vertical wall area | Keep everyday shelves and controls within 380–1,220 mm of the floor; reserve upper space for infrequent items |
| Lofted wardrobe | Bedrooms with very high ceilings or a compact sleeping platform | Confirm headroom, ladder or stair clearance, guard safety, and access to stored items |
Do not shrink a hanging section to 300–350 mm, the depth suited to folded clothes, shoes, or baskets. It pushes garments into the doors. Leave access around windows and electrical controls, and keep a cold external wall ventilated behind a built-in wardrobe to reduce condensation risk.
Divide Capacity Into Storage Zones With Usable Dimensions
A useful wardrobe is divided by activity, not split into identical vertical bays. Start your wardrobe storage planning with the clothes you own, then allocate depth and height to each zone; symmetry is useless if folded shirts sit behind an unreachable door.
- Hanging: reserve 550–600 mm internal depth for front-to-back garments. Use double-hang rails at about 1,000–1,100 mm and 2,000–2,150 mm above the floor for shirts, trousers, and shorter items.
- Long hanging bay: provide a separate 1,500–1,700 mm-high section for dresses, coats, and suits instead of making every bay tall.
- Folded storage: allow 300–350 mm shelf depth and keep shelf widths manageable so stacked clothes do not collapse sideways. Adjustable shelves accommodate changing piles.
- Drawers: place everyday items between waist and eye level. Check drawer clearance for the runner, handle, and full opening; allow roughly 100–200 mm front height for small clothing and 180–250 mm for bulkier garments.
- Shoe storage: use 300–350 mm depth, with 150–200 mm vertical spacing per pair. Sloping or pull-out shelves improve visibility.
- Laundry and accessories: give a ventilated pull-out basket its own lower bay, while accessory trays 80–120 mm high suit watches, belts, jewellery, and ties.
- Overhead storage: use the highest 400–600 mm for suitcases, blankets, or seasonal items, not daily clothing.
Check the final wardrobe dimensions inside the doors and tracks. Sliding hardware consumes usable depth, so measure the clear carcass behind the front panel rather than the external box.
Compare Doors, Carcass Types, and Access Before Finalising the Layout
Sliding doors versus hinged doors changes both access and the floor area you must protect. Sliding panels need less door clearance, but overlapping leaves part of the carcass blocked whenever another panel is in front. Hinged doors expose the full opening, yet beds, drawers, and walkways must stay clear of the swing.
| Option | Access | Installation, maintenance, and flexibility |
|---|---|---|
| Sliding doors | Reduced front swing; coordinate panel overlap, bay widths, and the usable depth lost to the sliding-door track. | Keep tracks clean and level; replacing rollers is simpler than altering the carcass. |
| Hinged doors | Full opening access to shelves and drawers, provided door clearance remains unobstructed. | Hinges need alignment and adjustment; mirror or glass panels increase weight and hardware loads. |
| Built-in wardrobe | Uses the wall efficiently and can reach the ceiling, but fixed sections limit later changes. | Seal and finish joints carefully; leave a service or air space at a cold external wall to reduce condensation and mould. |
| Modular wardrobe | Sections can be assembled, replaced, or moved during wardrobe reconfiguration. | Check panel joints, plinths, and fixing points; damaged components are easier to isolate. |
| Freestanding wardrobe | Can move with you and allows access to the wall behind it. | It consumes more visual and floor space; anchor tall units to suitable structural support to prevent tip-over. |
Specify full-extension runners by dynamic load rating, not drawer width. Loaded drawers create leverage at full extension. Keep frequently used storage between 15 and 48 inches above the floor, with a 30-by-48-inch clear forward approach where accessibility matters.
Coordinate Finishes, Lighting, and Materials With Contemporary Interiors
Match the wardrobe’s undertone to the bedroom floor, skirting, bed frame, and door rather than matching it to one isolated sample. Repeat one finish or colour on a smaller element, such as a bedside panel or shelving edge, so the storage looks built in.
| Option | Cleaning, impact, and weight | Budget and visual fit |
|---|---|---|
| Laminate wardrobe on plywood-faced panels | Resists frequent wiping and handles knocks well; seal cut edges against moisture. | Usually the practical mid-range choice for a restrained contemporary room. |
| Veneer wardrobe | Gives real timber character but needs careful cleaning and protection from dents and standing moisture. | Suits warm, natural interiors; costs more than a basic laminate wardrobe. |
| Painted MDF wardrobe | Produces a uniform colour, but exposed edges and chips require prompt repair. | Works for handleless slab doors and controlled budgets. |
| Solid wood wardrobe | Handles repairable dents and carries substantial weight, but moves with humidity and weighs more. | Best where timber grain is central to the room and budget allows. |
| Mirror wardrobe or glass wardrobe | Adds panel mass; confirm glass safety treatment, thickness, hinges or runner capacity, and alignment. | Expands perceived space but shows fingerprints and installation errors. |
Use a soft sheen instead of a high-gloss face where fingerprints and bedroom lighting are concerns. Wardrobe lighting at 2,700–3,000 K usually complements timber and warm textiles; cooler colour temperature can make grey or blue undertones look harsher.
Specify MDF, particleboard, or plywood by product class and request TSCA Title VI emission documentation where that standard applies. Madhav Tradelink can use the same finish schedule across wardrobe doors and adjacent interior panels, preventing small colour differences from making the installation look pieced together.
Related products
 | wardrobes Wardrobes Madhav Tradelink, located at Asia's largest furniture Market, holds the prestige of manufacturing of wooden doors, panel doors, teak wood doors,... |
 | wardrobes Wardobes Madhav Tradelink, located at Asia's largest furniture Market, holds the prestige of manufacturing of wooden doors, panel doors, teak wood doors,... |
Specify the Installation Details That Keep a Minimal Wardrobe Safe and Durable
A minimal wardrobe needs a construction brief, not just an elevation. Require the drawing to show fixed datum lines, finished-floor levels, door swings or track positions, reveal tolerances, and the scribe allowance needed where walls or ceilings are uneven.
1. Specify the carcass, panels, and installation sequence. Show module widths, panel thicknesses, joint positions, edge banding on every exposed and cut edge, recessed plinth dimensions, shadow gaps, and the order for levelling, joining, and fixing adjacent units.
2. Detail wardrobe anchoring and tip-over prevention. State the wall substrate, fixing points, anchor type, screw length, and load path to structural support; do not accept “fix to wall” as a complete note. Tall carcasses, overhead cabinets, mirror doors, and loaded shelves can shift forward even when the wardrobe appears stable.
3. Put every hardware requirement in the schedule. Name hinge opening angle, soft-close type, handle or push-latch system, runner extension, adjustment range, and dynamic load rating based on the loaded drawer—not its width. Include replacement access for runners, hinges, lights, and power supplies.
4. Add material and moisture notes to the purchase brief. Identify MDF, particleboard, or plywood by product class and require formaldehyde emission compliance documentation, such as applicable TSCA Title VI evidence. For an external wall, specify moisture control: a service gap, sealed vulnerable edges, ventilation, and separation between stored textiles and the cold surface.
Also state the accessible reach zone before placing daily-use drawers or shelves above 48 inches (1,220 mm).
Frequently asked questions
How do you choose between sliding and hinged wardrobe doors?
Choose sliding doors when front clearance is limited beside a bed or doorway. Choose hinged doors when you need full access to each storage bay and have enough floor space for the door swing.
How should wardrobe storage be divided?
Create separate zones for long hanging clothes, short hanging clothes, folded garments, drawers, shoes, and luggage. Check each zone’s usable width, depth, and height against the items you will store.
What should you compare before finalising a wardrobe layout?
Compare door access, carcass material, internal dimensions, hardware quality, service clearances, and how much of the interior remains hidden when sliding panels overlap.
Which installation details improve wardrobe durability and safety?
Specify secure wall fixing, level floors and walls, properly aligned doors, sealed exposed edges, ventilation where needed, and safe cable routing for integrated lighting.